Use the Template Model
After installing Matlab and the GNU ARM Toolchain it’s time to make the first program with HANcoder. Template models are provided for each target. To start a new software project open the template model and save it with another name, this way the template model stays intact.
Explanation of the template model
First unpack the zip-file to any location. Open the Simulink model by starting Matlab and navigating to the HANcoder directory where the Simulink models are located, the ‘Target’ directory. By double-clicking the provided model file, i.e. ‘HANcoder_Olimexino.slx’, from within MATLAB the model is started
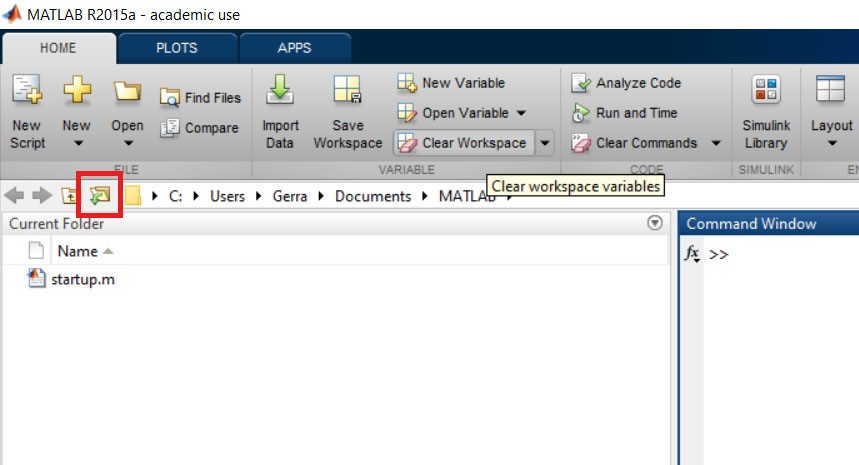
Make sure that the Target folder is selected. Otherwise Matlab will have trouble finding the necessary files to build HANcoder models.

NOTE: MATLAB versions prior to the 2013b release cannot open the .slx files and instead the .mdl files for these earlier versions can be found in the zip file: Template models for older versions.zip.
If the default project is used, the following screen will appear:
Nothing in this part of the model can be changed, otherwise the code generation will no longer work!
When double-clicked on the picture, the content of this block is shown:
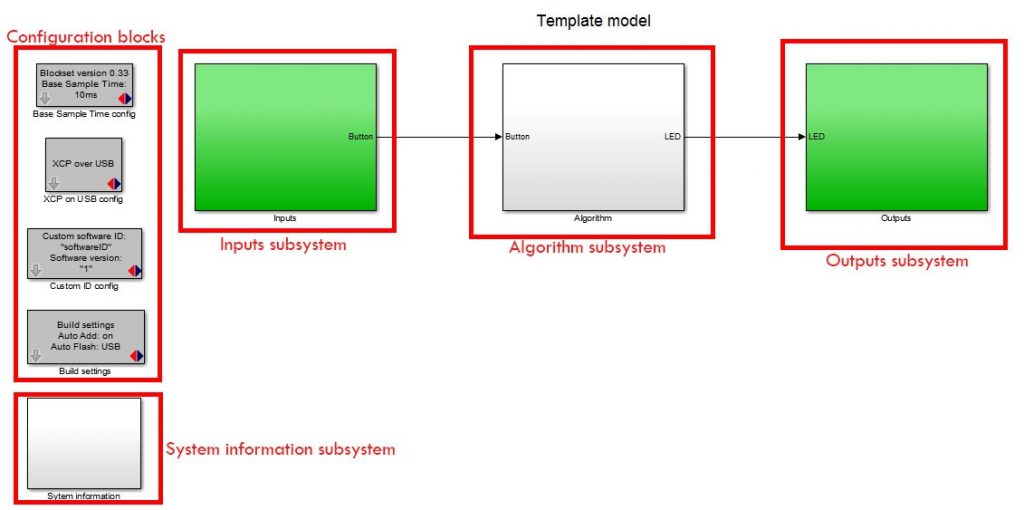
The figure above shows the layout of the template model. This simple project makes the LED blink at 5Hz when the button isn’t pressed and at 10Hz when it is. It is advised to keep this functionality in your project so you can always check if the software is still responsive.
The template model consists of:
- The inputs subsystem
- The algorithm subsystem
- The outputs subsystem
- The configuration blocks
- The system Information subsystem
Inputs subsystem
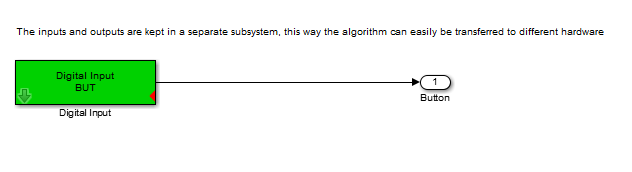
The inputs of the model are placed inside the Inputs subsystem. The inputs are connected with the Algorithm through Outport blocks (the block with ‘Button’ below it in the figure above).
The algorithm subsystem
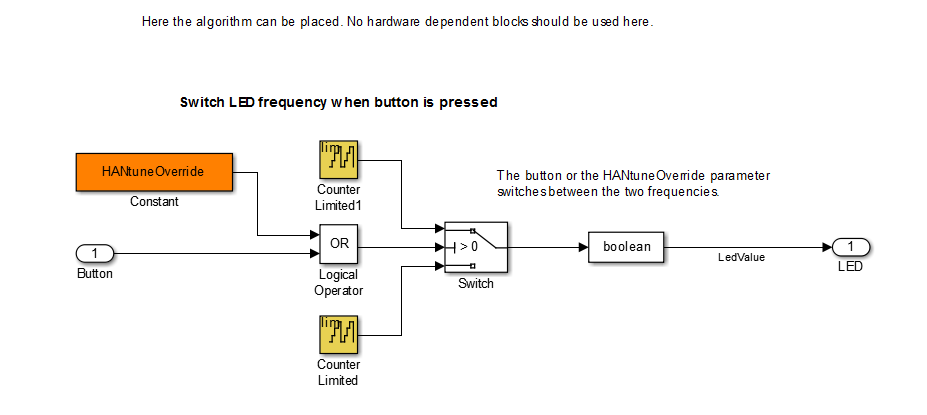
In the algorithm subsystem the functionality is placed. The subsystem is connected with the inputs and outputs through In- and Outport blocks. The functionality can easily be transferred to another hardware platform because there are no in- or outputs in this part, it is recommended to work the same way in your own projects.
The outputs subsystem
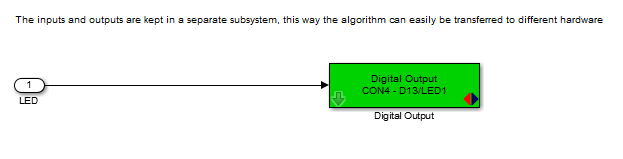
In here the outputs of your model are located.
The configuration blocks
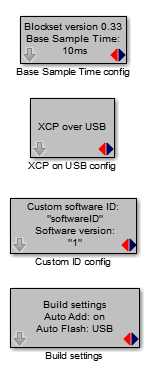
These blocks are the settings of the model.
The Base Sample Time determines the interval at which the model is run. You can add blocks to the model which run at lower rates but not faster. In the template model the base sample time is 10ms so the model runs at a 100Hz.
The XCP on USB config block configures the Olimexino to communicate to HANtune over USB.
The custom software ID block lets you choose a name and version number for your model, this will be used when connecting with HANtune.
With the Build settings you can let HANcoder automatically add all signals and parameters in the workspace of the project. This is important to communicate with HANtune.
The Auto Flash function flashes the software automatically after a successful build.
The system information subsystem
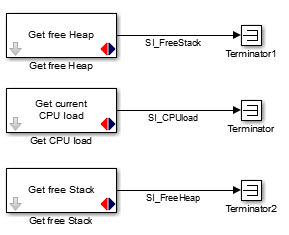 The System Information Subsystem gives you information about the Load, Heap and Stack of the system once the model is running. This way you can monitor how many resources your software program uses. The Signals are already defined by HANcoder and will be visible in HANtune.
Keep an eye on these values to make sure not to run into problems.