Difference between revisions of "CI/SonarQube"
| Line 50: | Line 50: | ||
To change the default port, under the header "WEB SERVER" in the file "sonar.properties" in the map of SonarQube, the # must be removed and now the "sonar.web.port" can be changed, for example to 5900. | To change the default port, under the header "WEB SERVER" in the file "sonar.properties" in the map of SonarQube, the # must be removed and now the "sonar.web.port" can be changed, for example to 5900. | ||
| + | |||
[[File:sonar_web_port.jpg|400px]] | [[File:sonar_web_port.jpg|400px]] | ||
| + | |||
Next go to the homepage of the SonarQube server and click on "Administration". | Next go to the homepage of the SonarQube server and click on "Administration". | ||
Revision as of 14:49, 31 October 2017
Introduction to SonarQube
SonarQube is a continuous inspection program that analysis bugs, smelss and security in code. SonarQube can inspect more than 20+ programming language, like JavaScript, C/C++, Python, et cetera. It can show history of codes and providing graphs. The nice thing of SonarQube is that it can fully automate analysis and integration with continous integration tools, like Jenkins.
The Quality Gate is very important. This provides whether the application is ready to be launched or not, because of the quallity of the application.
Installation
The following steps must be followed to install SonarQube and SonarQube Scanner.
For SonarQube:
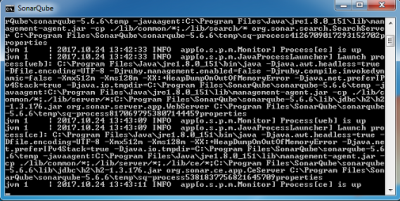
In Command Prompt go to the map where SonarQube is installed and start the service, for example:
C:\Program Files\SonarQube\sonarqube-5.6.6\bin\windows-x86-64>StartSonar.bat
If the service is up, SonarQube is installed properly.
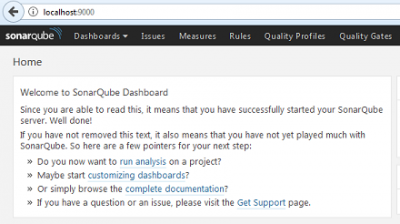
This can be checked by the following link: SonarQube.
On the picture below, on the left side of the screen it shows that the SonarQube server is successfully started.
For SonarQube Scanner:
The following link can be used to install SonarQube Scanner: SonarQube Scanner.
To download SonarQube Scanner click on "Windows 64 bit" and the download will start after clicking on "Ok".
Configuration
For SonarQube:
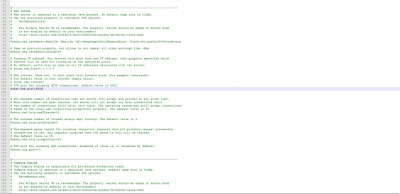
To change the default port, under the header "WEB SERVER" in the file "sonar.properties" in the map of SonarQube, the # must be removed and now the "sonar.web.port" can be changed, for example to 5900.
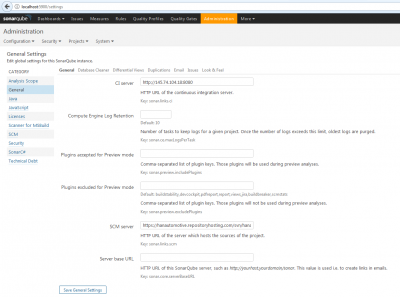
Next go to the homepage of the SonarQube server and click on "Administration".
Now the "CI server" needs to be filled in, this is the continuous integration server URL. Then the "SCM server" needs to be filled in. Here the URL of the repository needs to be filled in, an example can be seen in the picture below.
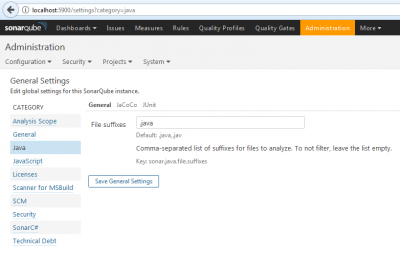
Now going further with the configuration by clicking on "Java". By "File suffixes" type in .java.
The configuration of SonarQube is now done.
For SonarQube Scanner:
To configure the settings of SonarQube Scanner follow the steps by using this link. These settings must be filled in the project settings in Jenkins (see "Execute SonarQube Scanner").

