SonarQube
Contents
Introduction to SonarQube
SonarQube is a service which provides static code analysis for your Continuous Delivery project. It runs on Java and integrates with multiple Continuous Delivery services like Jenkins. The SonarQube dashboard is accessible via an http webpage which can be accessed from either your own network of via the internet when desired, depending on how you set up your SonarQube server. SonarQube can inspect more than 20+ programming language, like Java, C/C++, Python, et cetera. It can show trends and graphs displaying the evolution of the size of your code base, test coverage, bugs and many more things over time.
Installation
The official SonarQube website contains a detailed overview of how to set up SonarQube. Because there are many options to choose from it might get complicated fairly quickly. Therefore a summary is posted below explaining how SonarQube has been installed on the HAN-AR test automation server. To give SonarQube a quick try, it's possible to set up SonarQube in 2 minutes via this link.
For the official installation guide from SonarQube, please go to this page and have a look at the section "Install a production instance". It contains two links. Please read the system requirements first before commencing with the actual SonarQube installation.
In order to be able to run SonarQube, first make sure that the following two components are present:
- Java Runtime Environment (HAN-AR's test automation server runs on JRE 8)
- A database engine (HAN-AR's test automation server runs Oracle Database 12c, release 2)
Installing the Java Runtime Environment
Hint: To check whether you already have java installed on your system, and which version, start a command line interface and run the following command: java -version.
- Download the Java Runtime Environment here (Running your server on macOS? download the JDK instead
- Accept the conditions and download the .exe when using a Windows server
- Follow the steps in the installer
- Check if you installed Java correctly with the above mentioned hint
- Download the installer package from the Oracle website. It is required to log in but it is free of charge to sign up and download the installer.
- Unzip the downloaded file and open the folder "database"
- Run the file "setup.exe"
- Choose "Create and configure a database
- Choose "Desktop class"
- Choose "Use Virtual Account"
- At "Typical Installation", leave the fields at it's default values and fill in a password
- Click "Install" and wait for it to complete (it takes a while...)
- Reboot your system
- To initiate your admin password, do the following:
- Open a command-line interface in admin mode and enter:
- sqlplus
- connect / as sysdba
- ALTER USER your_admin_username IDENTIFIED BY your_admin_password;
- Optional: Open your webbrowser and go to: https://localhost:5500 A login screen should show. Login to manage your Oracle database
- To create a SonarQube user and schema, do the following:
- Open a command-line interface in admin mode and enter:
- sqlplus
- your_admin_username as sysdba
- - Enter your password to log in -
- CREATE USER C##SonarQube IDENTIFIED BY HTSauto_12_Sonar; (The C## has to be present before the username)
- GRANT CONNECT, RESOURCE, DBA TO C##SonarQube;
- GRANT CREATE SESSION TO C##SonarQube;
- GRANT ANY PRIVILEGE TO C##SonarQube;
- GRANT UNLIMITED TABLESPACE TO C##SonarQube;
Installing the Oracle Database engine
Run:
In Command Prompt go to the map where SonarQube is installed and start the service, for example:
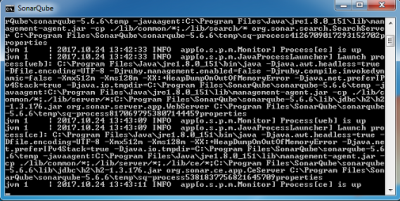
C:\Program Files\SonarQube\sonarqube-5.6.6\bin\windows-x86-64>StartSonar.bat
If the service is up, SonarQube is installed properly.
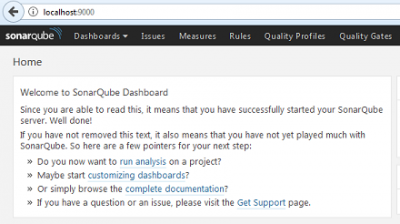
This can be checked by the following link: SonarQube.
On the picture below, on the left side of the screen it shows that the SonarQube server is successfully started.
For SonarQube Scanner:
The following link can be used to install SonarQube Scanner: SonarQube Scanner.
To download SonarQube Scanner click on "Windows 64 bit" and the download will start after clicking on "Ok".
Configuration
For SonarQube:
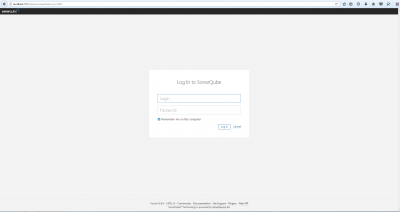
To log in the first time in the SonarQube server, for "Login" type admin and for "password" type also admin, as show in the picture below.
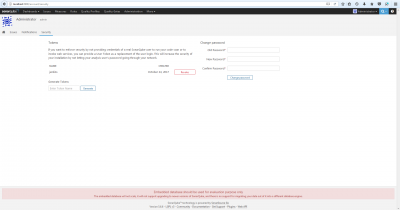
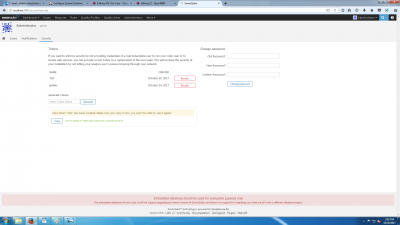
Now the password can be changed and the token can be made, by clicking on the log in name in the upper right corner (see picture below) and click on "My account".
Then go to "Security" and now the password can be changed (see picture above). After that, the token can be made by typing a name in block "Enter Token Name" and then click on Generate. Then there will be a code that must be copied and pasted in "Server authentication token" in Jenkins, in the configuration of SonarQube server. An example of the SonarQube token (with the code) can be seen in the picture below.
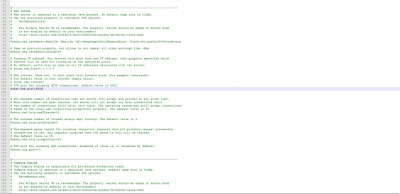
To change the default port, under the header "WEB SERVER" in the file "sonar.properties" in the map of SonarQube, the # must be removed and now the "sonar.web.port" can be changed, for example to 5900.
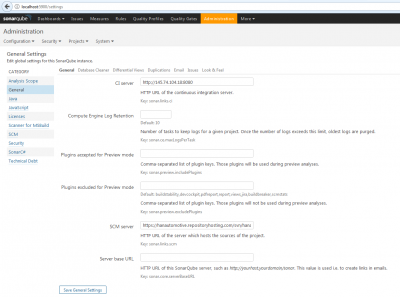
Next go to the homepage of the SonarQube server and click on "Administration".
Now the "CI server" needs to be filled in, this is the continuous integration server URL. Then the "SCM server" needs to be filled in. Here the URL of the repository needs to be filled in, an example can be seen in the picture below.
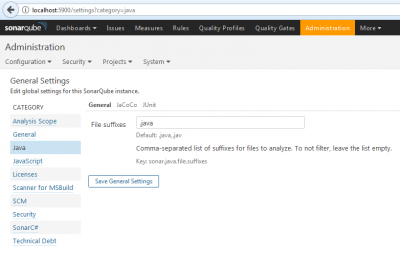
Now going further with the configuration by clicking on "Java". By "File suffixes" type in .java.
The configuration of SonarQube is now done.
For SonarQube Scanner:
To configure the settings of SonarQube Scanner follow the steps by using this link.
These settings must be filled in the project settings in Jenkins (see "Execute SonarQube Scanner").
