SonarQube
Introduction to SonarQube
Short explanation of what SonarQube is here and why we chose SonarQube...
Installation
The following steps must be followed to install SonarQube and SonarQube Scanner.
For SonarQube:
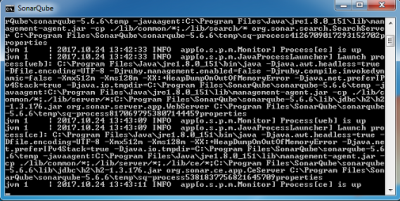
In Command Prompt go to the map where SonarQube is installed and start the service, for example:
C:\Program Files\SonarQube\sonarqube-5.6.6\bin\windows-x86-64>StartSonar.bat
If the service is up, SonarQube is installed properly.
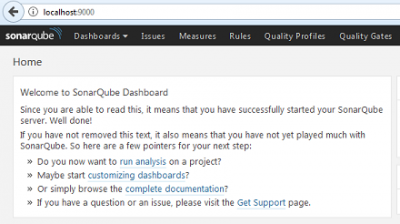
This can be checked by the following link: SonarQube.
On the picture below, on the left side of the screen it shows that the SonarQube server is successfully started.
For SonarQube Scanner:
The following link can be used to install SonarQube Scanner: SonarQube Scanner.
To download SonarQube Scanner click on "Windows 64 bit" and the download will start after clicking on "Ok".
Configuration
For SonarQube: To change the default port, under the header "WEB SERVER" in the file "sonar.properties" in the map of SonarQube, the # must be removed and now the "sonar.web.port" can be changed, for example to 5900.
For SonarQube Scanner:
To configure the settings of SonarQube Scanner follow the steps by using this link.
These settings must be filled in the project settings in Jenkins (see "Execute SonarQube Scanner").


